Am I A Bit Wary Of Too Many Critical Hits? Stargrave Battle Report

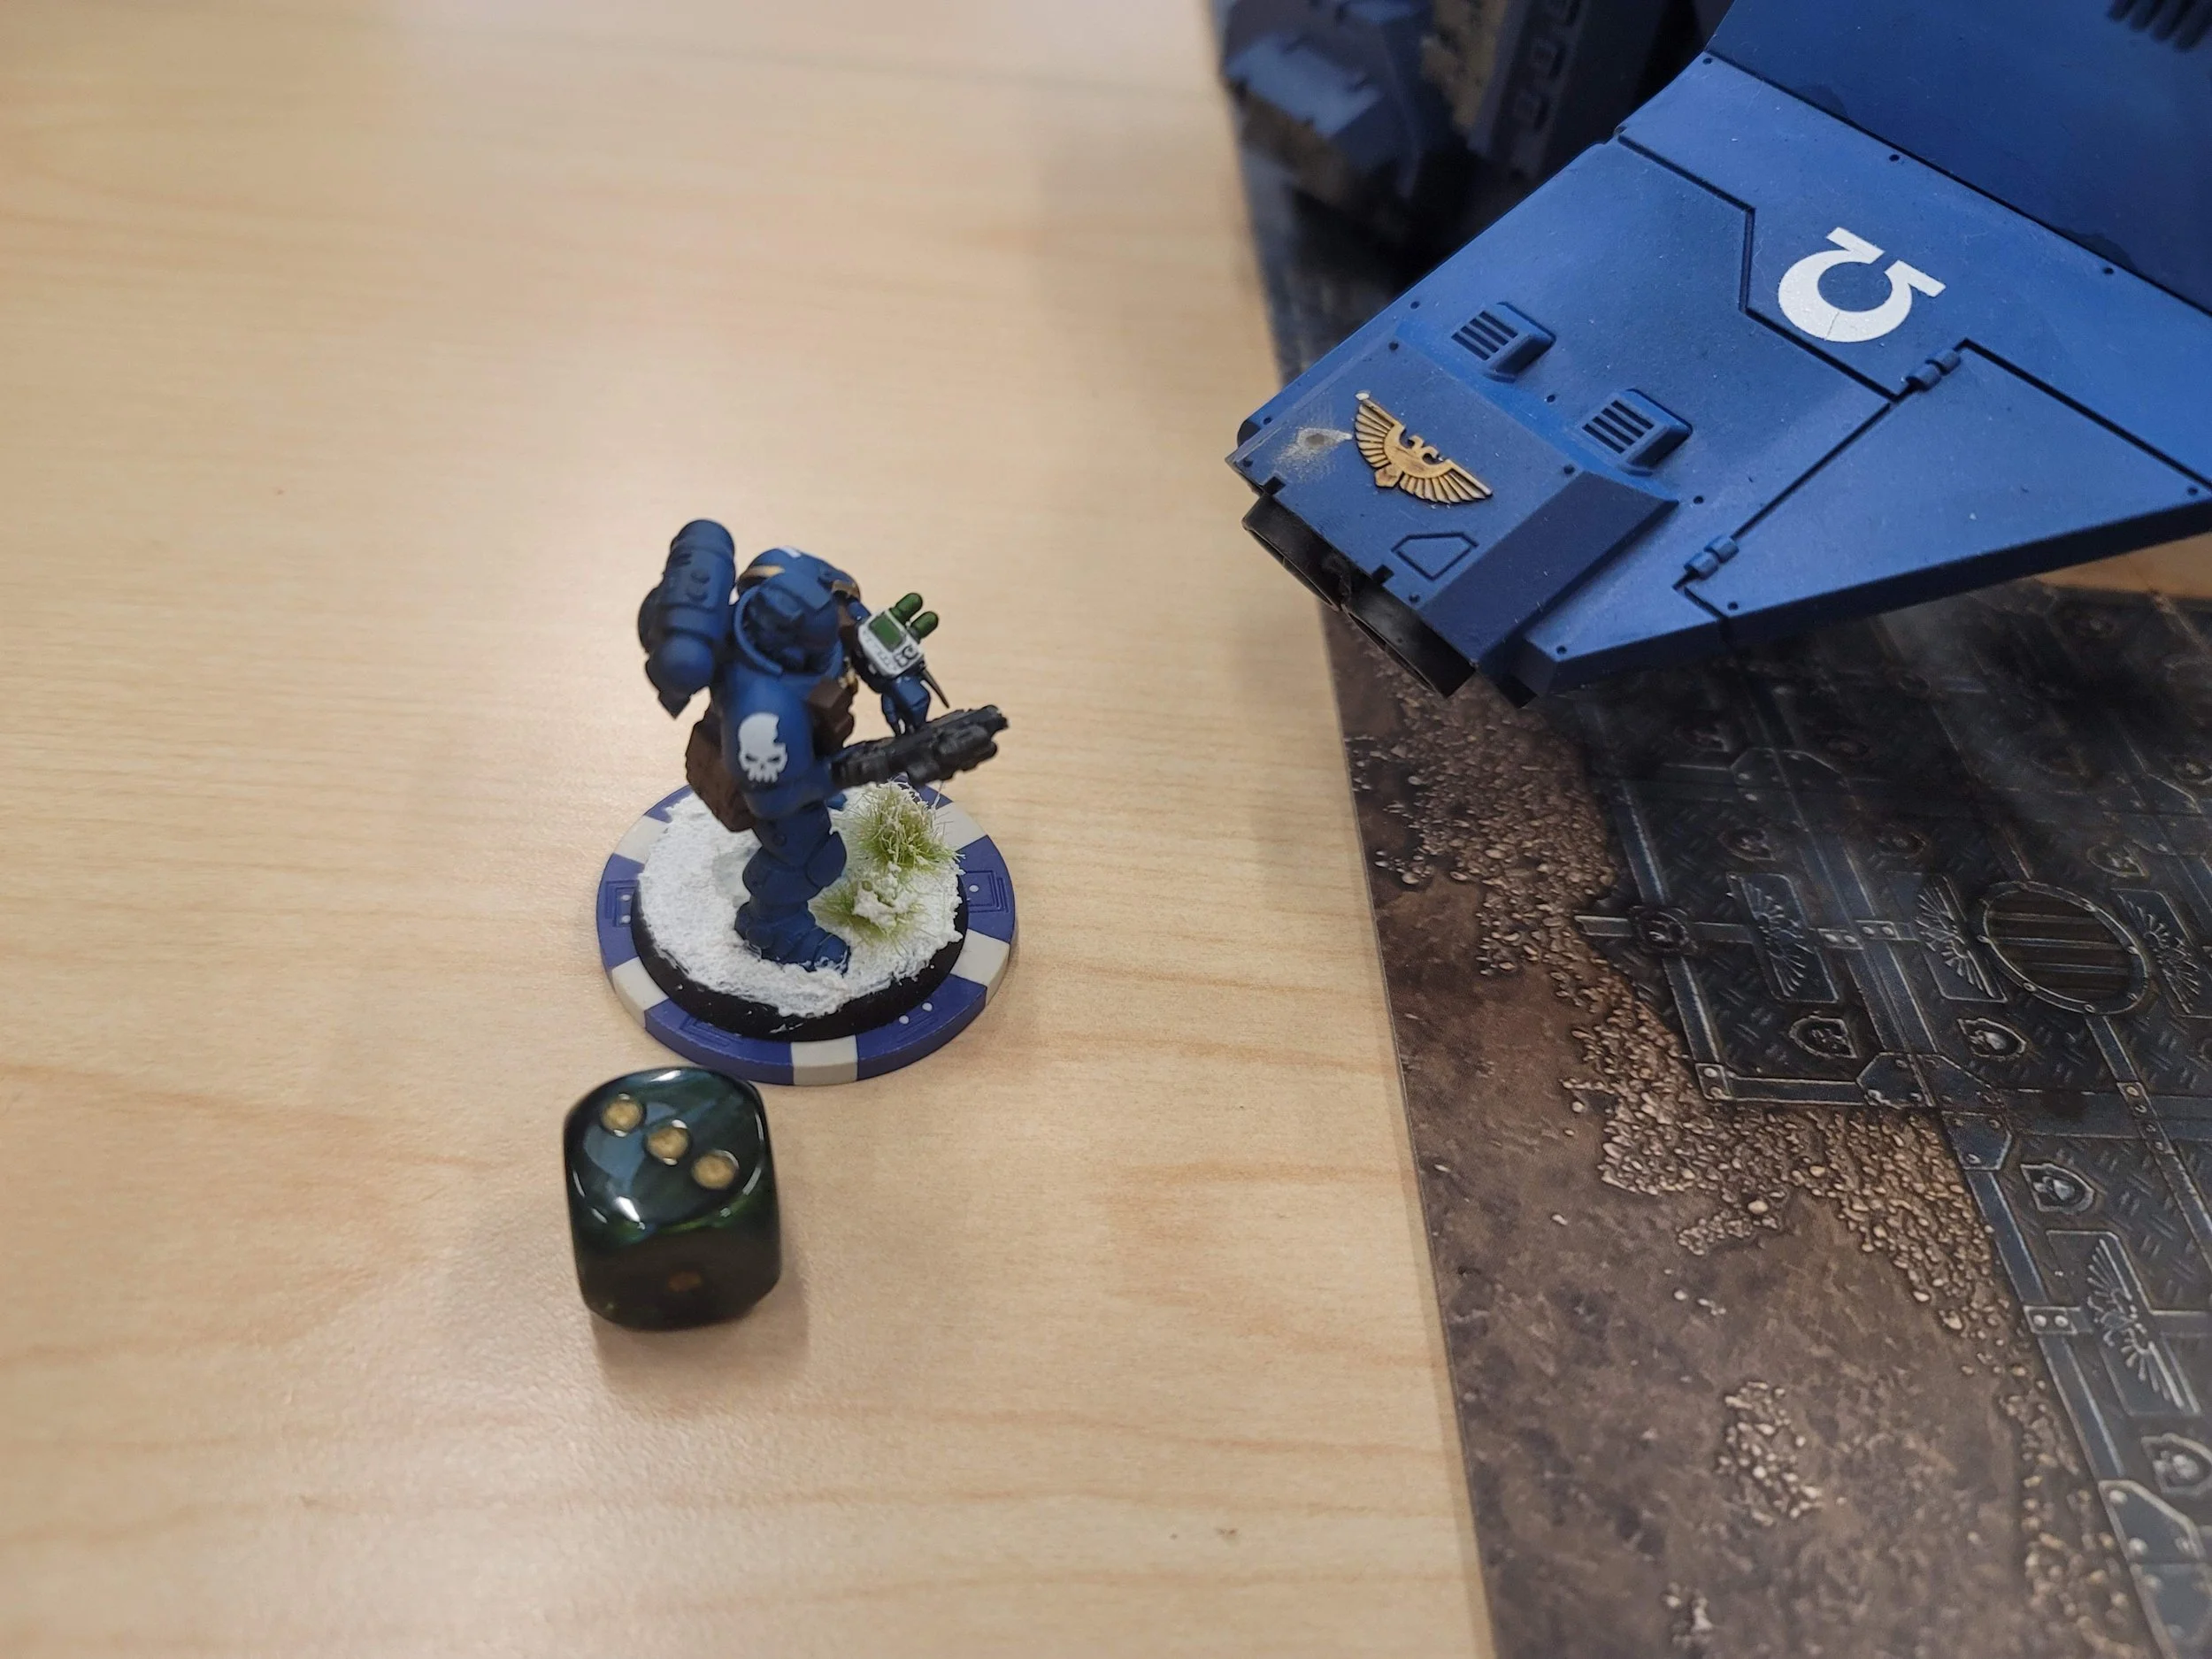
Last time I talked about Stargrave, I mentioned how the large bases of my Ultramarine characters was a bit much for playing the game. With a few others interested in trying out Stargrave, I went back to the drawing board and got a new Space Marine(ish) crew together. This time, I’m calling the Storm Raven the “Ultra-Violent” so they are Ultra-Violent Marines:
Captain: Sternguard Veteran Sergeant
First-Mate: Eversor Assassin
Sniper: Vindicare Assassin
Gunner: Sternguard Veteran with Heavy Bolter
Medic: Callidus Assassin
Burner: Primaris Infernus Marine
4x Recruits: Primaris Inflitrators

Instead of going mystical, I decided to go with the Veteran profile for the Captain and use my Sternguard Sergeant. I honestly could have used any Sergeant, but he does literally have “Veteran” in his name. While I was going through the box, I grabbed the heavy bolter Sternguard to use as the gunner, as it was a 32mm base that had a massive gun on it. As I mentioned in the other post, I went with the Vindicare Assassin as my Sniper, and decided to pull out some of my other assassins to use for other spots. The Eversor Assassin has a “Cyborg”-ish look to him, so I figured I could keep that profile for my first mate. A shape changer has to pick up something on anatomy right? So that worked out for my medic.
Turn 1: Walking teams

Not only did I have a “Kill Team” worth of assassins on my crew, my second game of Stargrave was basically a game of Kill Team. I had my Space Marines, my opponent was using a crew made up of Aeldari figures, and we were using Games Workshop terrain for our board. Since this was only my second game, and my opponent’s first, we set up the “basic” game again featuring 5 loot tokens on the board.
The closest loot token to my deployment was at the Southern edge of the board, not too far away from my ship. So I sent the Captain and a handful of people in that direction, meanwhile sending the First Mate with the second half of the crew up North towards the Token on top. Just as in the previous game, I put my sniper up on top of the Storm Raven to try and lay down some cover fire.
While I was concocting these plans, my Aeldari opponent set out to do the same thing, more or less. Half of his squad went towards the token my First Mate was heading to, while the rest moved towards the token just outside his deployment. One or two of them also got into position to get close to the 4th token on top of the building in the bottom right corner of the board.
Turn 2: Running away teams
This turn was easily the “Capture and keep going” turn. Both my opponent and I captured the tokens closest to our deployment zones and quickly got the tokens off of the board. Meanwhile, our “second squad” kept heading towards the same loot token in the top left corner. Both sides attempted to get some shots off, but neither person really did any damage. Having the increased amount of terrain on the board definitely helped narrow the amount of line of sights that you had on minis, so there wasn’t really the ability to shoot across the board at groups. Only our snipers really had that type of range, but even then units had to poke their head out to be in view.
During this turn we also discovered that the ruins terrain we were using was also too tall for our minis to realistically scale. Therefore, getting to the loot token on the roof of the building would be impossible. We relocated the token down to underneath the building in the same location.
Turn 3: This gun is really heavy guys…

Remember the loot token in the building I was just talking about? My opponent had three different units attempting to come at it from two different angles to cut me off. One of them was even just about on the token, but it would be another turn before he’d be in range to try and take it. That meant I had to get close enough to prevent him from doing so. My Captain was lagging behind from the fallout of helping get the previous token off of the map, so without thinking I rushed my burner and recruit towards the contested loot token. My plan was for the recruit to get to the token while my burner attempted to fry the Aeldari coming in from the top.
Of course, the Aeldari coming in from the top was the opposing Captain, which I didn’t realize when I came up with this plan. I practically melted the supporting unit next to the Captain, but the defense of the Captain was good enough to dodge out of the way. Still, my recruit was able to get inside and contest the token so that he couldn’t snatch it on his turn (in Stargrave, you can’t grab a loot token if there is an opposing unit there as well). The burner managed to use his remaining movement to get inside the building, but was dealt some heavy fire by the Aeldari Captain, leaving him stunned.
What was happening on the other side of the board? My sniper wasn’t doing much of anything besides trading pot shots with the other sniper, both of whom were shooting like Stormtroopers. Luckily, my Medic and First Mate were able to get close enough to the token before the Aeldari came around the corner. Since the token was a Data Token, my First Mate was able to use his Data Knock ability to unlock the token from a distance, which meant I could use both actions of my Medic to get to the token and pick it up. With a slower movement speed, the gunner lagged behind just hoping to see some action. The enemy Aeldari came around the corner of the terrain, firing off some shots to try and take down my medic to no avail.
Turn 4: Tides are turning…

Oh crap. In working to get towards the building loot token, I had left my Captain all alone. Which meant on his activation, there was no one else around to activate. Plus, on the previous turn, he had his Captain and Sniper seriously injure my Captain, stunning him with just 5 health left. That meant that my guys inside were all alone and I wouldn’t be able to move and try and help them out at all. Fortunately, I had won initiative, which meant that although only my Captain would activate, he could at least act before his Captain got inside.
True to my Ultramarines, it was time for analyzing some Theoretical & Practical strategies. Moving my Captain closer wouldn’t do much of anything in that situation. Shooting at the enemy Captain would obviously have the biggest impact, but given that it was another Captain I was shooting at, the probability that my shots would alter anything was very small. But I had equipped my Captain with Smoke grenades! So I popped a smoke grenade in the opening of the building. It meant that my units inside wouldn’t be able to shoot, but also meant they wouldn’t get shot at as well.
With his sniper cut off, the Aeldari Captain pushed forward into the smoke and got into combat range with my burner. I assumed this was the end of my burner, until my dice had a different idea - a critical hit! Since the Aeldari Captain had taken some minor damage in the previous turns of the game, this crit was enough to wipe him off the board completely! Basically, the Aeldari used the smoke to get close and appear out of the haze, but my marine was quick and deadly with his combat knife, thrusting upwards from the ground into a killing stroke.

Across the board, my medic got the hell off the board as fast as they could go, while my First Mate got back behind cover so he could get some defense while trying to mow down the enemy units that had sprung out to try and kill the medic. The gunner, finally in a good position, opened fire and blew away one of the Aeldari, occupying the enemy forces so that my remaining recruits could get to the final loot token in the middle of the board. Fortune continued to smile as I rolled another crit hit on the recruit inside the building, managing to kill the remaining Aeldari inside and make the loot token no longer contested!
Turn 5: Wrapping up team

We were running out of time, so the last turn was a bit rushed. I managed to get the loot token under the building off the map, making the score 3 to 1. In regards to the center loot token, I got it unlocked and began to move it, but once again had the problem where my First Mate wasn’t near said recruits, so making it hard to get the guy off the board. My Captain, no longer stunned, was able to pivot and work through gaps in the terrain to try and help them with his abilities. While the enemy defense was enough to cut down my recruit, the token was out in the wild near my First Mate. Yet, not close enough that it would matter in time. Regardless, even if my opponent had gotten the token, it still would have been 3 to 2, so with time running out we called the game and began packing up.
In Conclusion
Making sure the team has a variety of equipment really can make the difference in key moments.
If you place your terrain well enough, there might be limited circumstances where a sniper is actually useful.
I really gotta stop leaving my Captain and First Mate all alone…
Note: I generally assume I know nothing. So if I've missed something, let me know in the comments. Or let me know on Twitter or Facebook. If you like these types of posts, consider subscribing to our patreon.